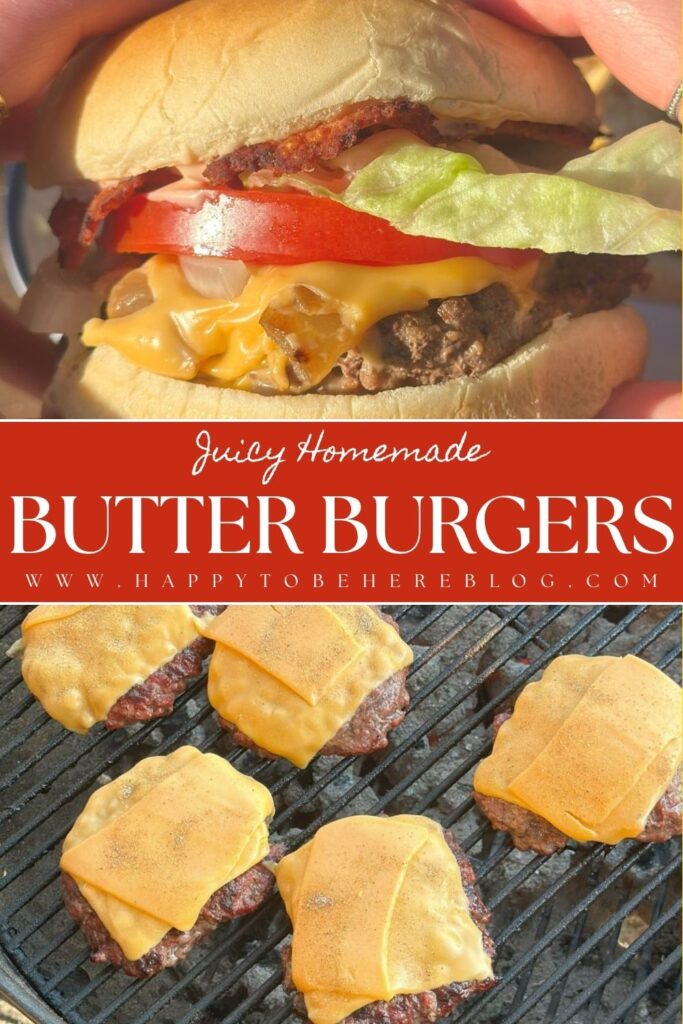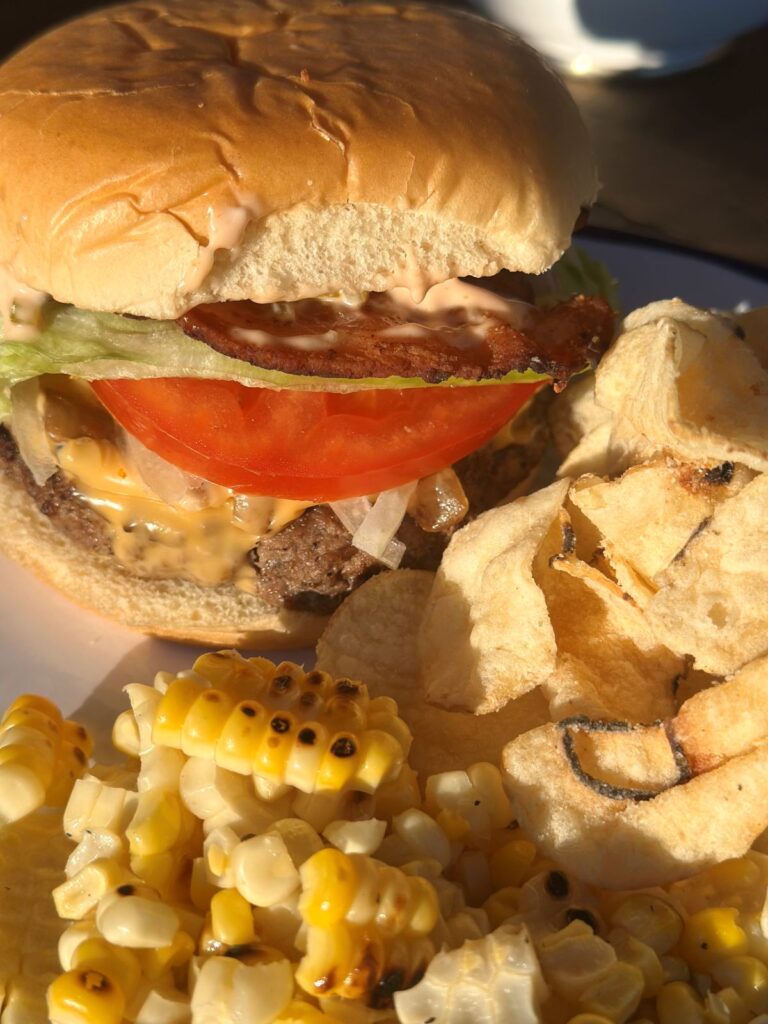
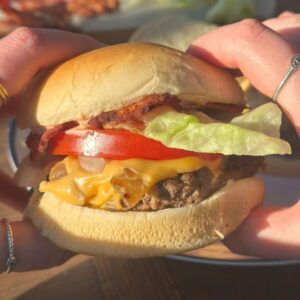
Homemade Butter Burgers
Butter is sandwiched between two extra-thin ground beef patties before being cooked to create the most indulgent, juicy, delicious burger. Perfect for all summer grilling occasions—from Memorial Day to Fourth of July, Labor Day, and every cookout in between.
Pin
Facebook
Email
Yield: 6 burgers
Equipment (Includes Affiliate Links)
Ingredients
- 2 lbs 85/15 ground beef
- ¼ cup salted butter (½ stick) chilled in freezer for at least 30 minutes
- Hickory Burger Seasoning to taste
- Small slices of brick cheese optional; to stuff inside the burgers
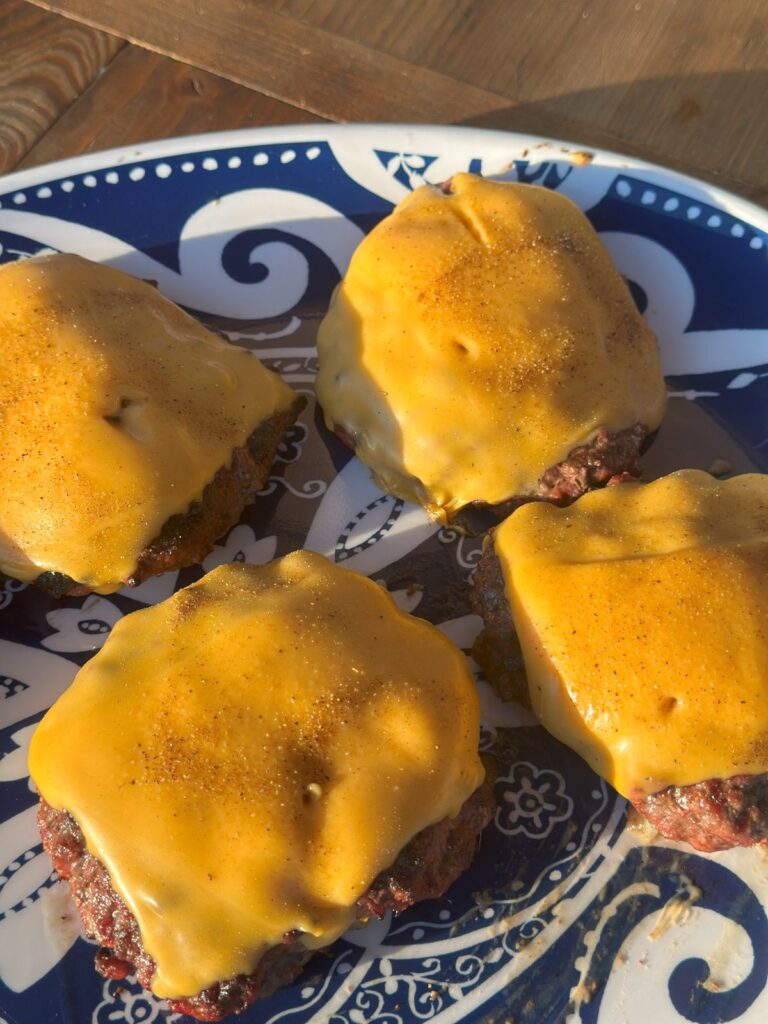
- 6 slices of American or other cheese optional; to make the butter burgers into cheeseburgers
Instructions
Prep the butter.
- Freeze the butter for at least 30 minutes before starting the burgers. This will make it easier to slice/grate.¼ cup salted butter (½ stick)
- Grate the butter or use a sharp knife to cut into very, very thin pieces. Set aside.
Form the burger patties.
- Split each pound of ground beef into three equal portions (easiest to do this with a kitchen scale). Each of these will be one ⅓ lb burger.2 lbs 85/15 ground beef
- Roll out a large rectangular piece of plastic wrap. Take one of the ⅓ lb ground beef portions and cut it in half (to create two, ⅙ lb pieces). Place one of these smaller portions of ground beef onto one end of the plastic wrap and use the plastic wrap to help you shape it into a large, very flat circle. Press down with your fingers, gently round the edges, and make sure it is thin (about ¼-⅓" thick)! Repeat for the other half of the burger, placing it on the opposite side of the plastic wrap rectangle.
- Lightly sprinkle Hickory Burger Seasoning (or seasoning of your choice) on each thin patty to taste. Then, place about 2 teaspoons of the grated butter onto the center of one of the patties—this will be the bottom patty.Hickory Burger Seasoning
- Optional—Add a few small, very thin slices of brick cheese on top of the butter.Small slices of brick cheese
- Using the plastic wrap to help you, flip the top patty (one without butter) onto the other patty, effectively sandwiching the butter (and optional cheese) in between the patties. The sides you seasoned should both be on the inside of the burger.
- Gently pinch and press the edges of the burger to seal them.
- Repeat this process for the remaining burgers!
Cook the burgers (2 options!).
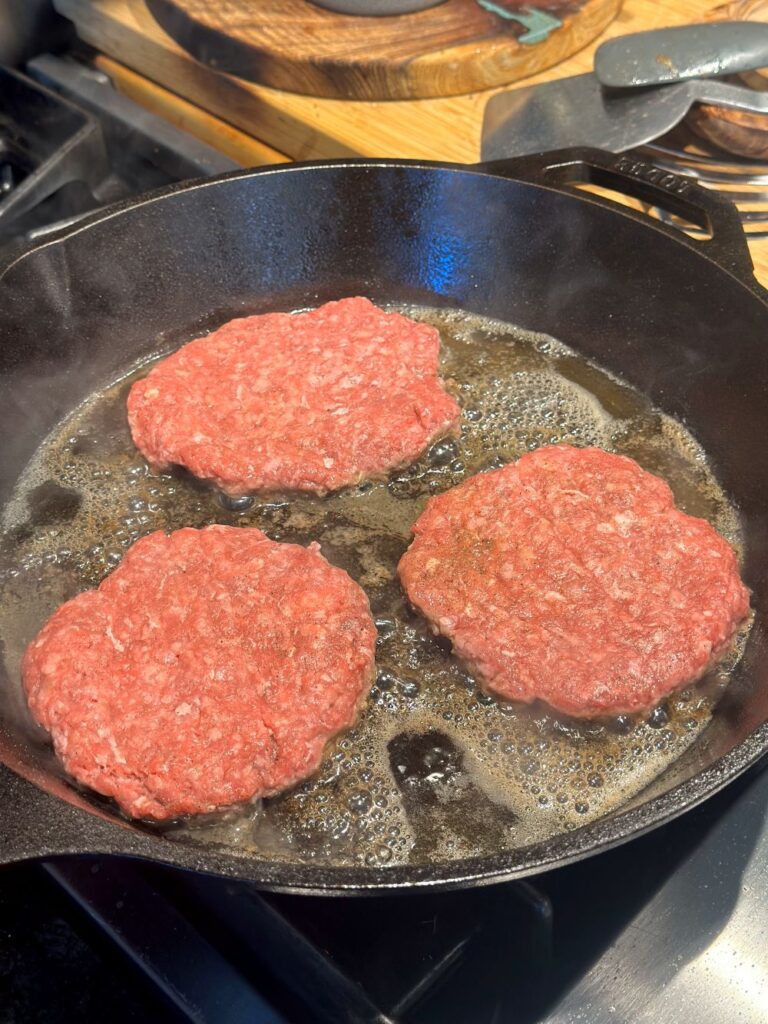
- Stovetop: Add a couple tablespoons of butter, along with a couple tablespoons of avocado oil to a cast iron skillet or large pan. You might also use bacon grease or another neutral oil to fry the burgers. Heat on medium/medium-high heat for 3-4 minutes, or until the butter is melted and foamy. Add the burgers and cook for about 4 minutes per side, or until the burgers reach your desired level of doneness (medium, medium-rare, well done, etc.). Sprinkle on some extra burger seasoning as they cook. Once the burgers are nearly done cooking, add slices of cheese and cover with a lid to help it melt (optional).
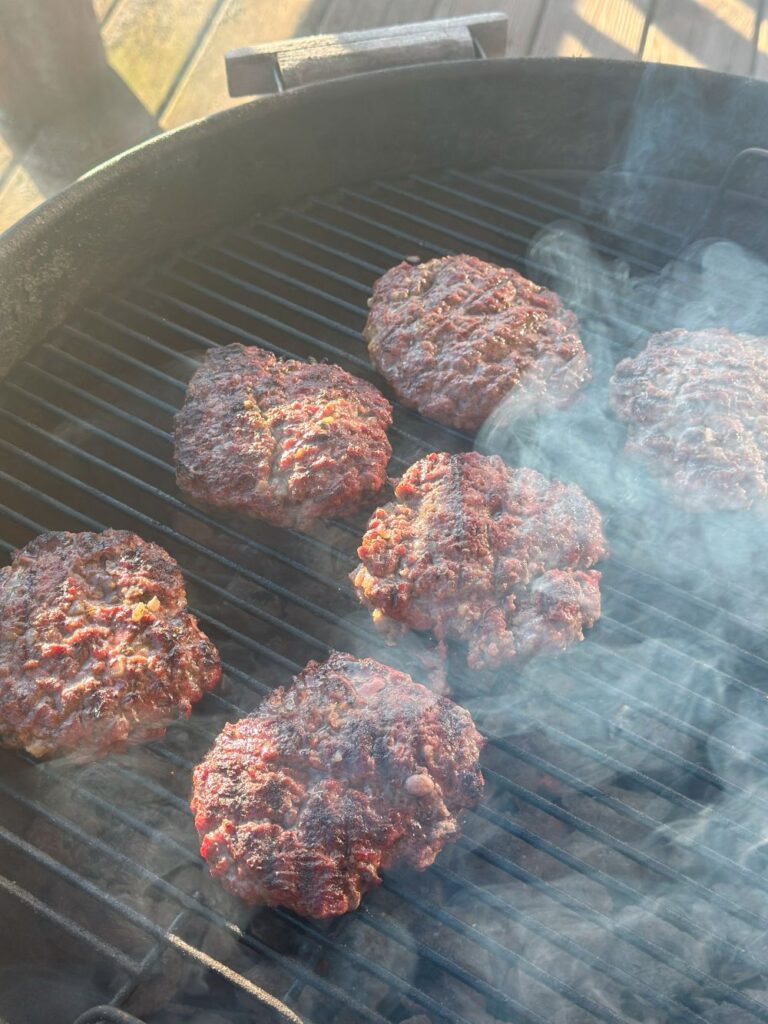
- Charcoal Grill: If using a charcoal grill, make sure you create a "cool" side and a "warm" side of the grill when you place the charcoal. Cook the burgers for about 3-4 minutes per side—this can differ greatly depending on the heat of your grill. Sprinkle on extra burger seasoning as they cook. Do not press the burgers down as you'll lose all of the juice! If the burgers begin to char too quickly, move them onto the cool side of the grill. If making cheeseburgers, add the cheese when the burgers only have a couple minutes of cook time left. Cover to help the cheese melt.
Let the burgers rest & then serve!
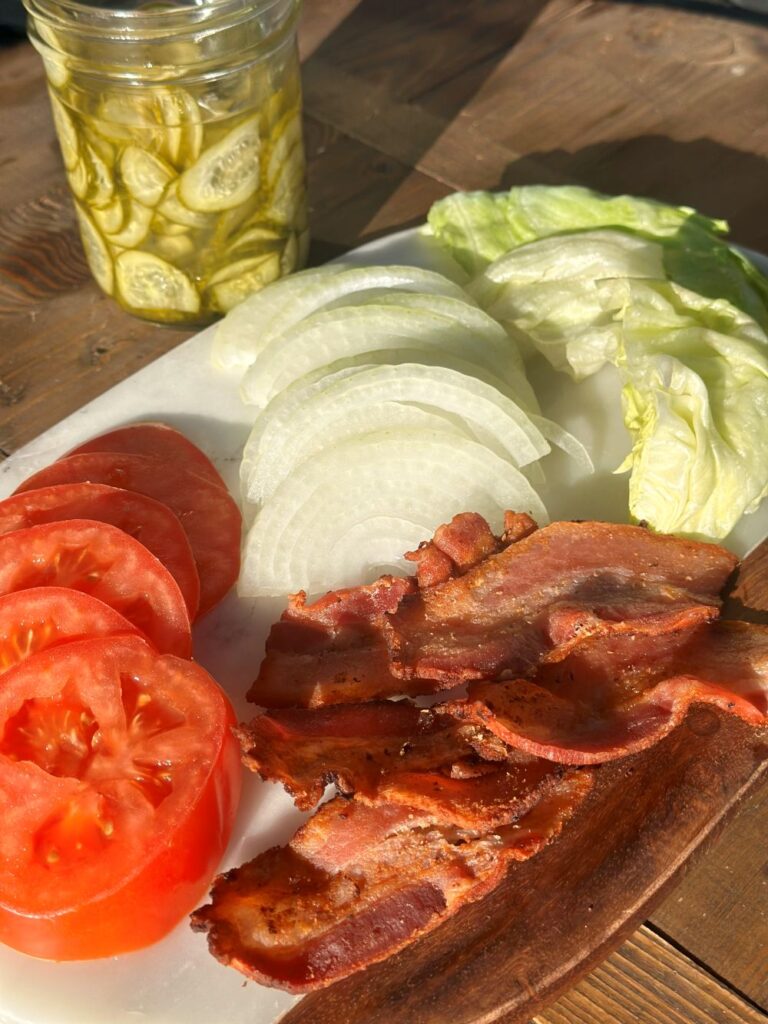
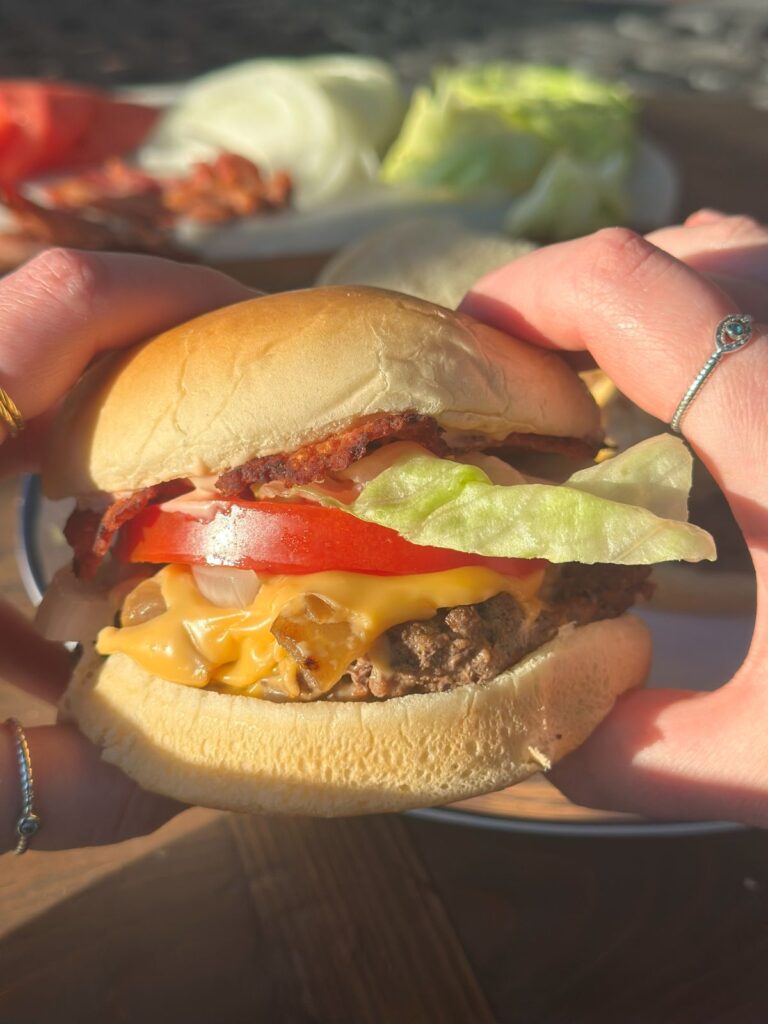
- Regardless of the cooking method, let the burgers rest for a few minutes after cooking. Then, serve on your favorite hamburger buns!
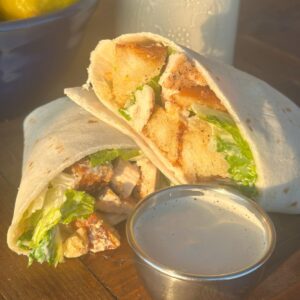
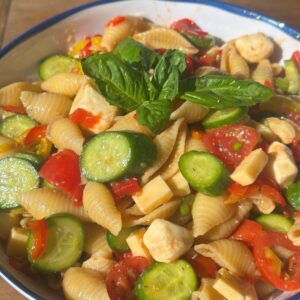
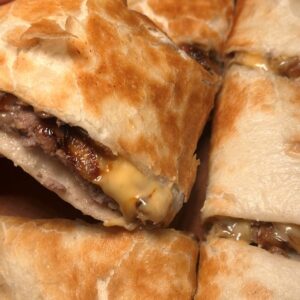
Cook With Me
Share This Recipe:
Did you try this recipe?Click here to leave a rating and review!