Why You’ll Love This Banana Bread
- Super Moist—A generous amount of sour cream and mashed banana keeps this bread incredibly moist for days, without turning dense or greasy. No need to slather butter onto each slice—it’s perfectly moist and delicious all on its own!
- Perfect Banana Bread Flavor & Texture—Ripe bananas are the star, supported by warm vanilla and just the right amount of sweetness. These mini loaves bake up with a golden crust, soft crumb, and a beautiful rise every time.
- Mini Loaves = Perfect Size—This recipe yields six mini loaves (5.75″ x 3″ pans) that are perfect for snacking on and sharing (if you must).
You can put your butter dish away because this banana bread is ultra-moist—thanks to both sour cream and mashed bananas in the batter. It bakes up golden brown on top with a soft crumb and beautiful rise. The recipe yields 6 mini loaves (using 5.75″ x 3″ pans), which are the perfect size for snacking and sharing with friends and family (if you are feeling generous). Baking smaller loaves also means you’re not slicing into a big loaf and letting the rest dry out. Each mini loaf stays fresher, longer.
This is the banana bread that I grew up on, and one of the very first recipes I remember my mom teaching me as a little girl. So, to say it has a special place in my heart (and stomach) is a severe understatement. I’ve eaten so many loaves of this bread over the years that I don’t think I even want to hear the final tally—some of the best things in life go better uncounted.
I really do mean it when I write that this is the only banana bread I will ever make. It’s just so perfect that I don’t think it would be fair to make the other banana breads compete.
Banana Bread Ingredient Notes
Bananas: When I see a bunch of bananas turning brown and speckled on the countertop, I know it’s time to make this banana bread! The more overripe your bananas, the sweeter they’ll be. In total, you’ll need 1¾-2 cups of mashed bananas, which I find is typically equivalent to 4 medium bananas. Depending on the bananas you have on hand, you might need 5-6 small bananas, 3 large bananas, etc. to reach this quantity of mashed bananas.
You can also use frozen bananas! See more details below, before the recipe card.
Butter: If you’re familiar with HTBH, you likely already know that I use salted butter in pretty much all my baked goods. This is a personal preference, of course, but I find it to be much more convenient. That being said, if you are using unsalted butter, I recommend upping the added salt from a half teaspoon to about a teaspoon.
Vanilla Extract: Vanilla pairs beautifully with the banana flavor of this bread. As always, I recommend my favorite “good” vanilla (as Ina Garten would say)—this one from Nielsen-Massey on Amazon.
Sour Cream: A very generous amount of sour cream gives this banana bread an ultra-moist, tender texture without making it overly dense or mushy. Don’t let the quantity scare you! You won’t taste the sour cream, but you will be thanking it for making truly moist banana bread that stays soft for days.
How to Make Banana Bread—Step By Step
Shop all linked products on Amazon!
1. Preheat your oven to 340°F.
Give your oven ample time to heat up before baking the banana bread. A hot oven is needed for that oh-so-important initial rise when the baking soda works its magic in helping the bread lift.
An oven thermometer can help ensure your oven is truly as hot as you think it should be. Keep in mind that all ovens are different—just because yours has gone through 1 or 2 preheating cycles doesn’t necessarily mean it has reached temp (I know this from experience!).
2. Prep the dry ingredients.
In a medium mixing bowl, add the flour, baking soda, and salt. Either spoon and level your flour or use a kitchen scale to make sure you don’t add too much—no one wants dry banana bread.
3. Mash the overripe bananas.
In a bowl or glass measuring cup, mash the overripe bananas using a potato masher or a large fork.
4. Cream the butter and sugar.
In the bowl of a stand mixer, cream together the softened salted butter and white sugar, mixing on low speed for about 3-4 minutes or until smooth.
5. Add the eggs.
Add one egg at a time as you continue to mix on low speed. Scrape down the sides of your bowl with a spoon or spatula before mixing again briefly to ensure all ingredients are well combined.
6. Add the vanilla extract and sour cream.
Pour in the vanilla extract and add the sour cream. Then, mix on low until completely incorporated.
7. Banana time!
Pour in the mashed bananas and mix until combined. Scrape down your bowl well.
8. Add the dry ingredients.
Spoon in the dry ingredients ½ to 1 cup at a time. Scrape down your bowl again, paying special attention to any dry ingredients that might be stuck near the bottom where the paddle attachment does not reach quite as well.
9. Get your pans ready.
Spray 6 mini loaf pans with baking spray. Not cooking spray, baking spray—that difference is important. Baking spray includes flour and makes it so much easier to remove the loaves from the pans. Place the loaf pans on a half sheet pan.
10. Spoon in the batter.
Using a measuring cup, large spoon, or large cookie scoop, add equal amounts of the batter to each loaf pan. Lightly tap each pan on the counter to release any trapped air bubbles.
Optional—Sprinkle a little extra white sugar over the top of each loaf for a delicious crust.
11. Bake the banana bread.
Bake the loaves at 340°F for 42-45 minutes, turning the pan 180° at the 20-21 minute mark to ensure even baking. When the loaves are done, a toothpick inserted into the center should come out clean (or with a few moist crumbs stuck to it). Do not overbake!
12. Let the loaves cool.
Let the loaves cool for 5-10 minutes in the loaf pans. Then, carefully (use oven mitts!) flip each pan over and gently catch the loaf in your other hand/mitt. Place the loaves right side up on a wire cooling rack to finish cooling.
How to Store Banana Bread
Once the loaves are completely cooled, wrap each one tightly in plastic wrap and store them at room temperature for 3–4 days. You can also use an airtight bag or container, but I personally prefer plastic wrap as I feel it holds in moisture better and keeps the bread extra soft.
How to Use Frozen Bananas In Banana Bread
If you notice your bananas are looking very overripe but you’re not ready to make banana bread, freeze them! Place the bananas in an airtight zipper bag as-is (no peeling) and place them directly in the freezer.
The night before I plan on making banana bread, I place the frozen bananas in the fridge to thaw. By the time I’m ready to bake the bread the next day, they will have softened. I use kitchen shears to cut open the peel, as it’s not as easy to peel the bananas once they have been frozen and thawed. Then, use them just as you would bananas straight from your counter—mash them and add them to your banana bread batter!
3 Tips for Perfect Banana Bread
Tip 1—Fully preheat your oven.
I mentioned this once, but it’s worth mentioning again. For this banana bread to end up with the correct texture and a domed top, it needs a good initial rise. And for that, your oven must be fully preheated before putting the loaves in. The best way to check this? Use an oven thermometer.
Tip 2—Do not overmix the batter.
Don’t overmix the batter once you add the dry ingredients. Overmixing could overdevelop gluten, leading to a tougher crumb and flatter top on the loaves. Mix until the dry ingredients are just combined, then scrape down your bowl and mix in any missed patches of dry ingredients by hand.
Tip 3—Do not let the batter sit too long before baking.
Once you have mixed in the dry ingredients, it’s go time. Get the batter into the mini loaf pans and into the oven fairly quickly. You don’t need to act like you’re on a competition cooking show, but don’t take a phone call or start reorganizing your pantry either. Baking soda reacts with liquid as soon as it’s mixed and you want that reaction to help the bread rise in the oven… not in the mixing bowl.
Read on for the full recipe for this extra moist banana bread!
Once you’ve baked up some loaves and given them a try, come back to leave a rating and review below—I would love to hear how you like it!
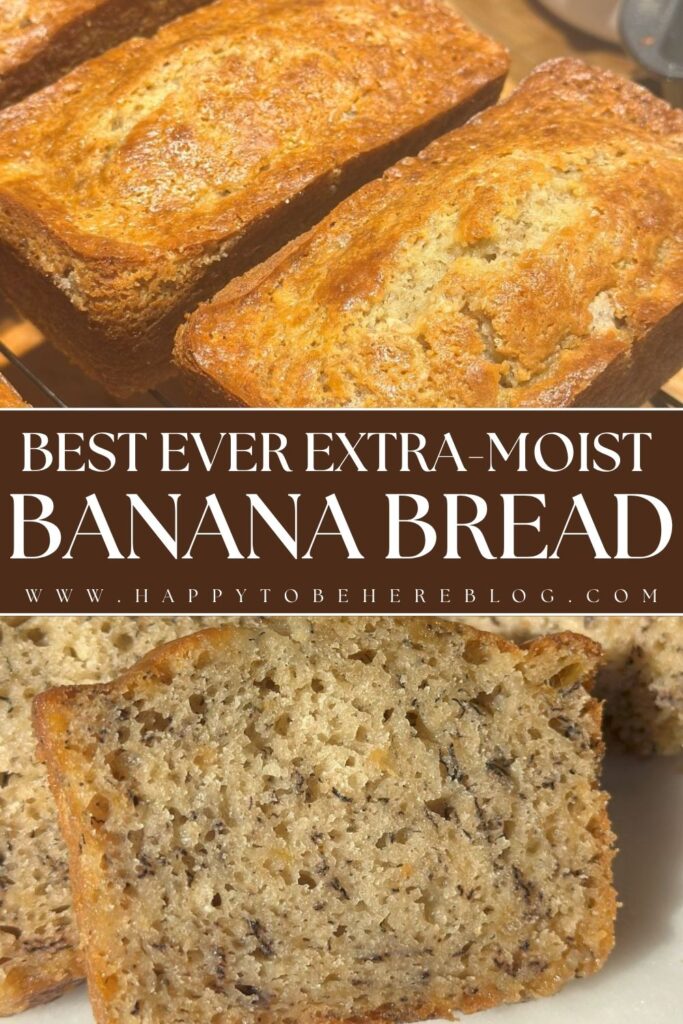
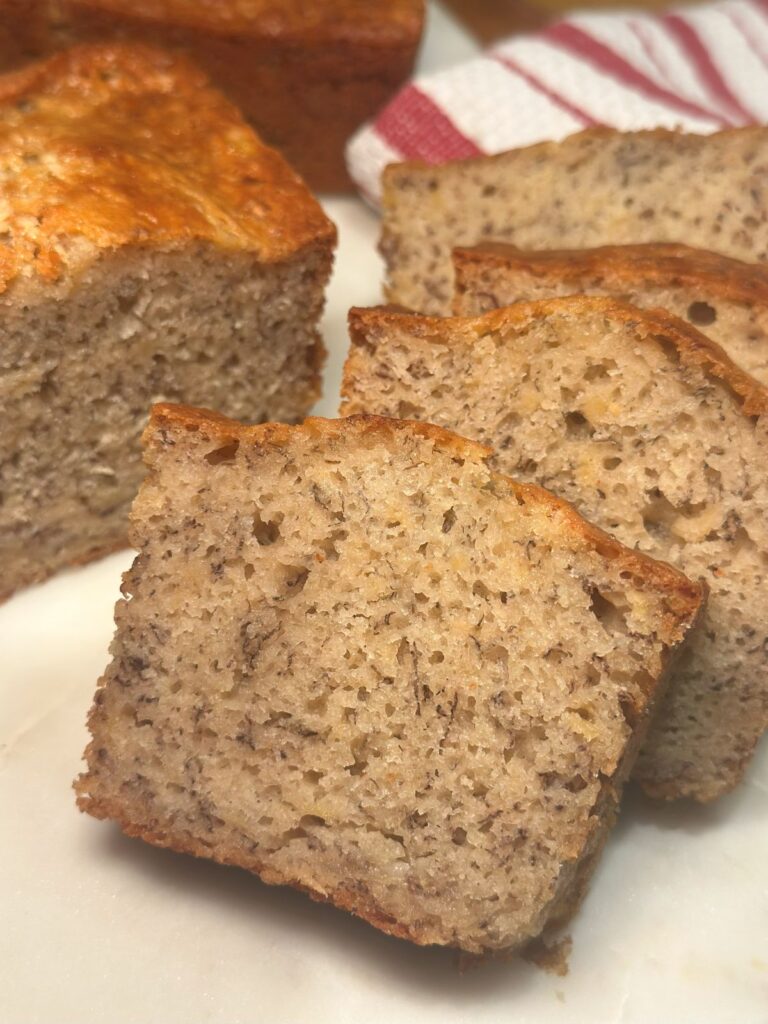
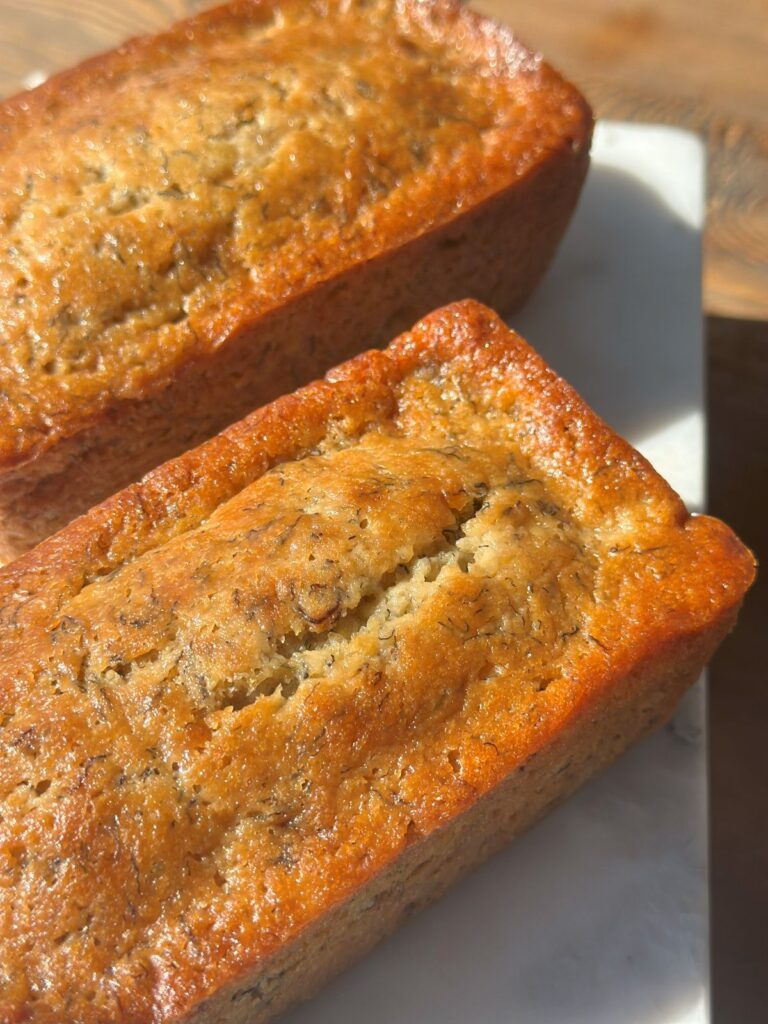
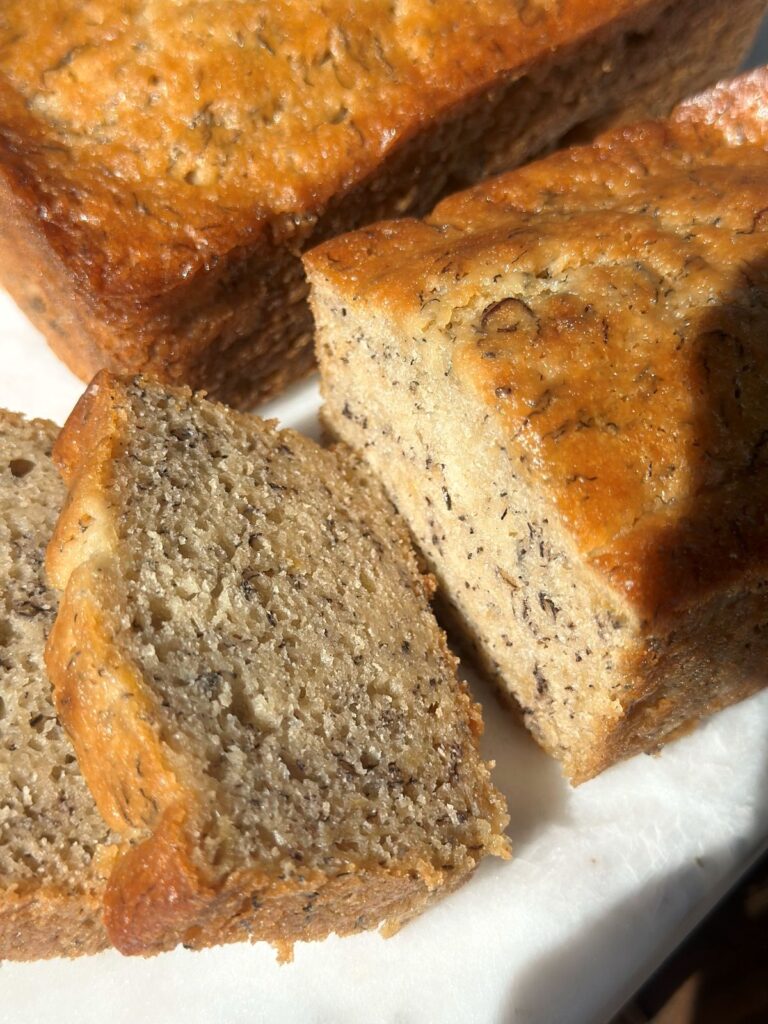
Best Ever Extra-Moist Banana Bread
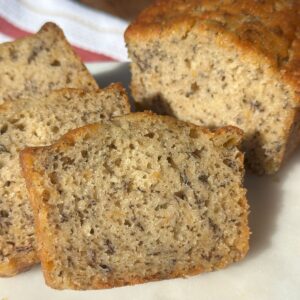
Equipment (Shop on Amazon)
- Mini Loaf Pans 5.75" x 3"
Ingredients
- 4 cups all-purpose flour (480 g)
- 2 tsp baking soda
- ½ tsp salt
- 4 medium bananas about 1¾-2 cups mashed
- 1 cup salted butter softened
- 2 cups white granulated sugar
- 4 eggs
- 2 cups sour cream, plus 1 heaping tablespoon
- 2 tsp vanilla extract
Instructions
- Preheat your oven to 340°F.
- Add the flour, salt, and baking soda to a medium mixing bowl. Set aside.4 cups all-purpose flour (480 g), 2 tsp baking soda, ½ tsp salt
- Mash the bananas in a glass measuring cup or small bowl. Set aside.4 medium bananas
- In the bowl of your stand mixer, cream together the softened butter and white granulated sugar on low speed (3-4 minutes).1 cup salted butter, 2 cups white granulated sugar
- Add the eggs one at a time while mixing on low.4 eggs
- Add the vanilla extract and sour cream. Mix until well incorporated. Scrape down your bowl.2 cups sour cream, plus 1 heaping tablespoon, 2 tsp vanilla extract
- Add the mashed bananas and mix well. Again, make sure to pause and scrape down the bowl.
- Add the dry ingredients about ½-1 cup at a time while mixing on low. Mix until just incorporated. Do not overmix! Then, take the bowl off the mixer and scrape it down well with a spoon or spatula to make sure there are no pockets of flour remaining.
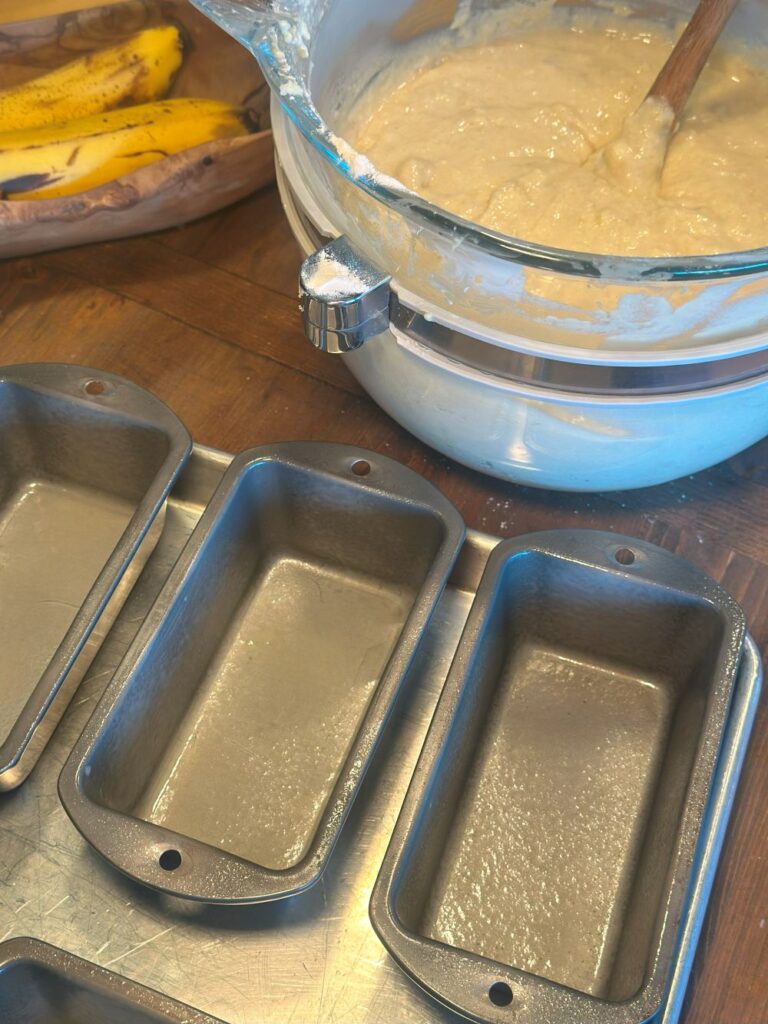
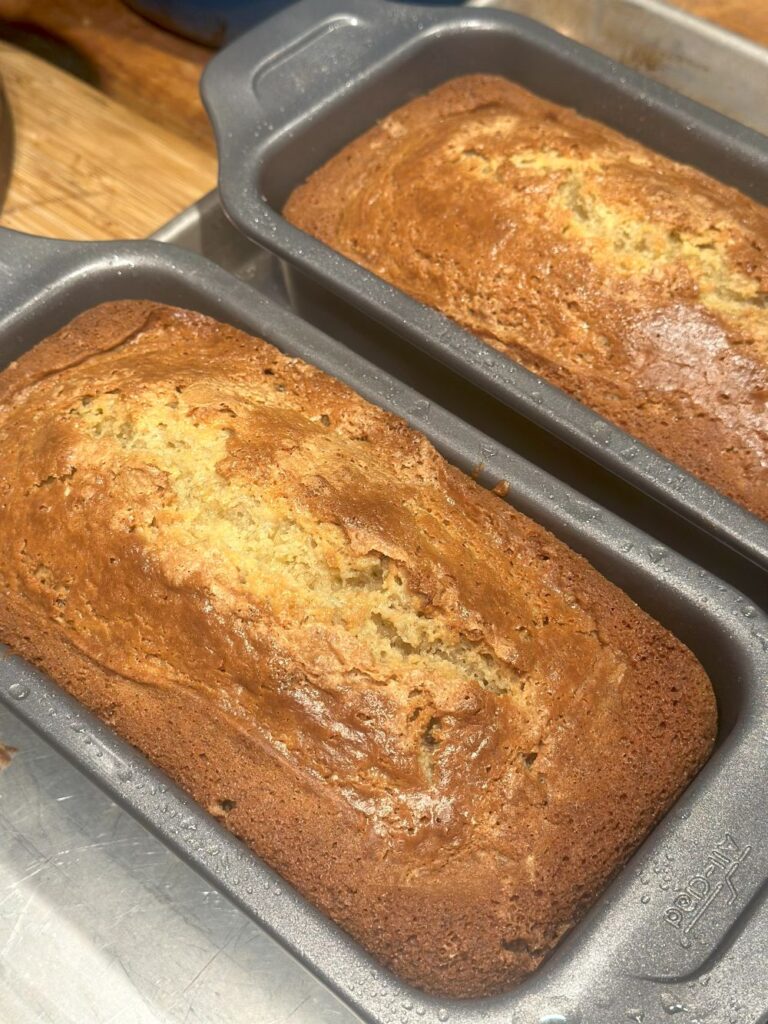
- Spray 6 mini loaf pans with baking spray (not cooking spray!). Place on a half sheet pan.
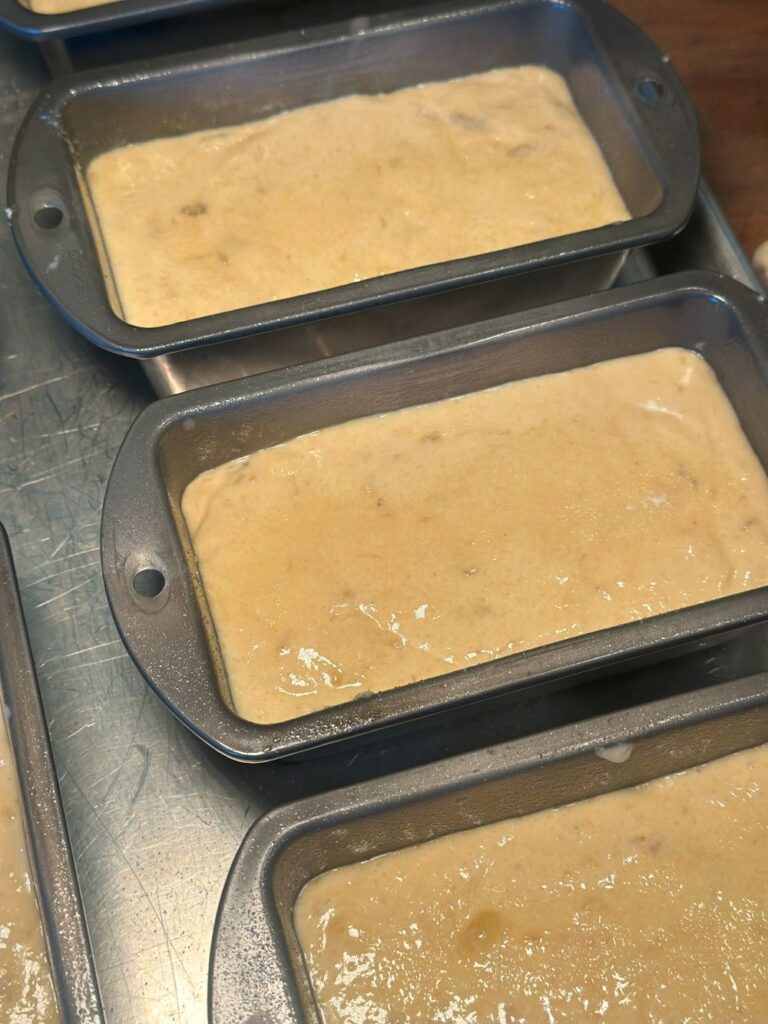
- Spoon or pour equal amounts of the batter into each of the loaf pans.
- Optional—but I highly suggest it! Sprinkle a small amount of white granulated sugar over the top of each loaf for a delicious crust.
- Bake the loaves at 340°F for 42-45 minutes, turning the pan 180° at the 20- to 21-minute mark. Check for doneness by sticking a toothpick in the center of each loaf. It should come out clean or with a few moist crumbs stuck to it. Do not overbake!
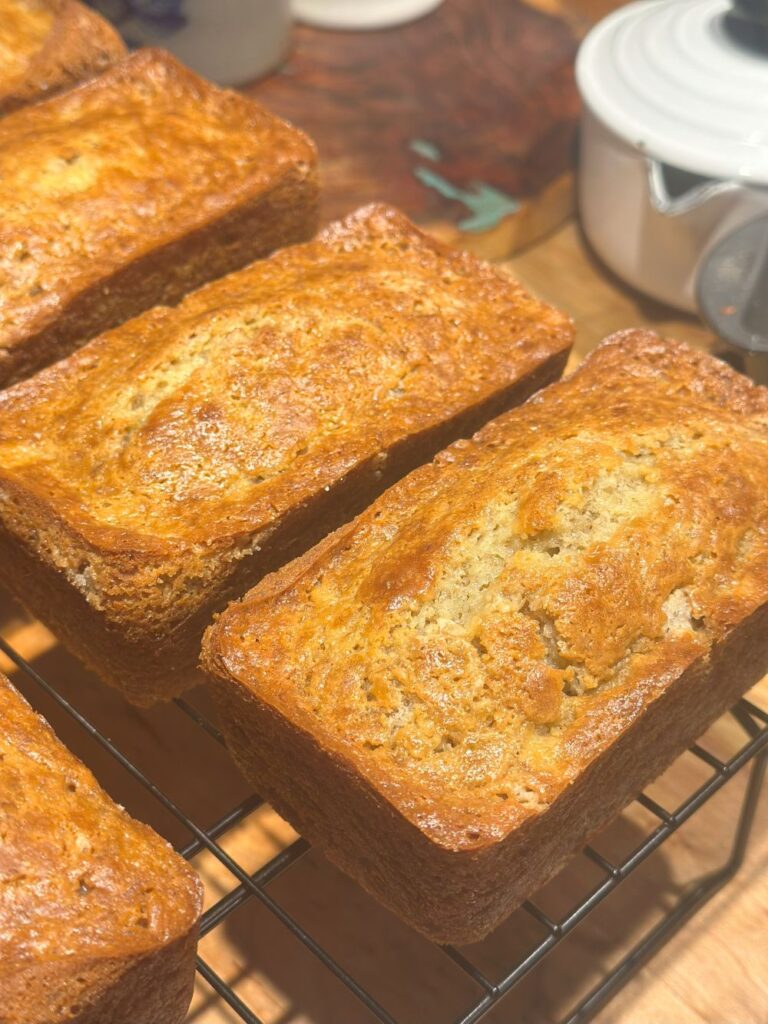
- Allow the loaves to cool for about 5-10 minutes before carefully turning them upside down to remove each loaf from the pan. Use oven mitts or hot pads so as to not burn yourself. Place the loaves on a wire cooling rack to finish cooling.
- Slice the banana bread and serve! Wrap leftover loaves tightly with plastic wrap and store on the counter for 3-4 days. This bread will easily stay moist for a few days after baking.
Notes from the Happy To Be Here Kitchen
Share This Recipe:
Recommended For You
If you liked this banana bread, I think you’ll love these recipes…